Search
Close this search box.

Joining of Perimeter Wires – The Best and Worst Ways

Joining of Perimeter Wires - The Best and Worst Ways

In this video we talk about the different types of connectors available to repair a break in your robot lawn mower boundary wire. We run through connectors that we don’t recommend to be used and the connectors that we highly recommend using. We demonstrate how to use our Crimp Connectors with Dual Walled Heat Shrink and also how to use our Solder Joint with Dual Walled Heat Shrink. We also run through the kits available to buy on our website.

https://robotlawnmowers.com.au/product-category/robot-accessories/wire-joiners/

Worx Landroid – E1 WIre Missing Error

Worx Landroid E1 WIRE MISSING ERROR

In this video Jason discusses the reasons that you can get an E1 Wire Missing Error. We discuss how this is caused by your boundary wire having a resistance of more than 10 Ohms.
Once your boundary wire has a resistance of more than 100-200 ohms then the robot will not work properly and can display erratic behaviours.
Robot may not follow the wire correctly and the robot may not move more than a meter or two away from the boundary wire. In the middle of the lawn the robot will display the E1 wire missing error.
We also discuss that the light on the base station of the Worx Landroid robots will only turn red after the resistance of the wire is more than 20,000 ohms or 20 k ohms. But the robot will begin to have erratic behaviours and may stop all together once the resistance is more than 100-200 ohms.

How to find a broken boundary wire – High Resistance

How to find a broken boundary wire - High Resistance

The video demonstrates how to find a partial break or high resistance in your boundary or perimeter wire using a wire locator tool.

 Jason from Robot Lawn mowers shows how to use the NF 826 Wire Break Locator by showing an installation route that has a High resistance in the perimeter wire. Jason disconnects both ends of the wire and pulls them out. He connects the red lead of the transmitter to one of the leads and connects the negative lead to the screwdriver pushed into the ground.

 Then he turns on the transmitter and sets the signal strength to one. The receiver is also turned on, and the signal strength is set to Auto. When he gets close to the wire, the receiver beeps and you can read the signal strength on the NF-826, this reading is taken every 20mt along the boundary wire to see where the signal strength changes. This indicates where the high resistance (or bad wire joint) can be.

It is advised against setting the signal strength too high, as this can pick up signals from much further away. Instead, a setting of one is ideal. Following these steps, it is possible to locate the break in the wire and make necessary repairs.

How to find a break in the perimeter wire – NF826

How to find a break in your perimeter wire - NF 826 Wire Break Locator

The video demonstrates how to find a break in your boundary or perimeter wire using a wire locator tool.

 Jason from Robot Lawn mowers shows how to use the NF 826 Wire Break Locator by showing an installation route that has a break in the perimeter wire. Jason disconnects both ends of the wire and pulls them out. He connects the red lead of the transmitter to one of the leads and connects the negative lead to the screwdriver pushed into the ground.

 Then he turns on the transmitter and sets the signal strength to one. The receiver is also turned on, and the signal strength is set to Auto. When he gets close to the wire, the receiver beeps, and as he moves further away, the beeping stops.

It is advised against setting the signal strength too high, as this can pick up signals from much further away. Instead, a setting of one or two at most is ideal. Following these steps, it is possible to locate the break in the wire and make necessary repairs.

Wireless Robot Lawn Mowers Australia – Introduction

Wireless robot mower

Wireless Robot Lawn Mowers Australia - Introduction

Summary

  • Basic Introduction to wireless robot mowers
  • What to expect of this new technology and how it works
  • What wireless robot mowers are we going to see in Australia?
  • Pros and cons to this technology at this point.
  • Will this new technology work in your yard?
  • Help answer the question of if you should wait for this technology or install a wired robot lawn mower.

Basic Introduction to wireless robot mowers

Traditional robot mower has a boundary wire that is installed around the entire working area. ~

Wireless robot lawnmowers do not have this wire to be installed and are much simpler to set up. Similar to a robot vacuum cleaner but you will still have to program the working area into the robot.

To program these it is usually done via your phone or tablet and you remote control the robot around the area to be mowed and the robot records where the limits of the mowing area are. This is also done for exclusion areas that are inside the mowing area like garden beds and driveways etc…

What to expect of this new technology and how it works

There are quite a few different technologies that different companies are working on.

RTK with IMU sensors are the most popular at the moment.

RTK real-time kinematic, this corrects the existing GPS position. A fixed point reference station (antenna) is installed and that will correct the GPS signal to as little as 1-2cm accuracy.

IMUs (Inertial Measurement Units) combine multiple sensors such as an accelerometer, gyroscope, and compasses to provide multi-axis motion tracking. So it recodes every movement the robot has.

Then Encoders on the drive wheel measure the distance each drive wheel travels.

So with all these sensors combined the robot primarily uses the RTK signal to provide an accurate position of the robot, but when the RTK signal is compromised the imu and encoders calculate the position of the robot as best as possible to keep the robot mowing within the lawns boundaries.

Other sensors that wireless robot lawnmowers will use:

  • Vision
  • Ultrasonic
  • Radar
  • LiDAR

What wireless robot mowers are we going to see in Australia

  • Luba – RTK Based.
  • Segway Navimow – RTK bases with the optional vision sensor.
  • Worx Vision – Vison based.
  • Kress – RTK based with no local reference station required.
  • Ambrogio – RTK Based.
  • Husqvarna – RTK Based.
  • Ecovac G1 goat – Vision and Local Positioning System.
  • Novabot  – RTK and Vision based.
  • Conga – Vision Based.

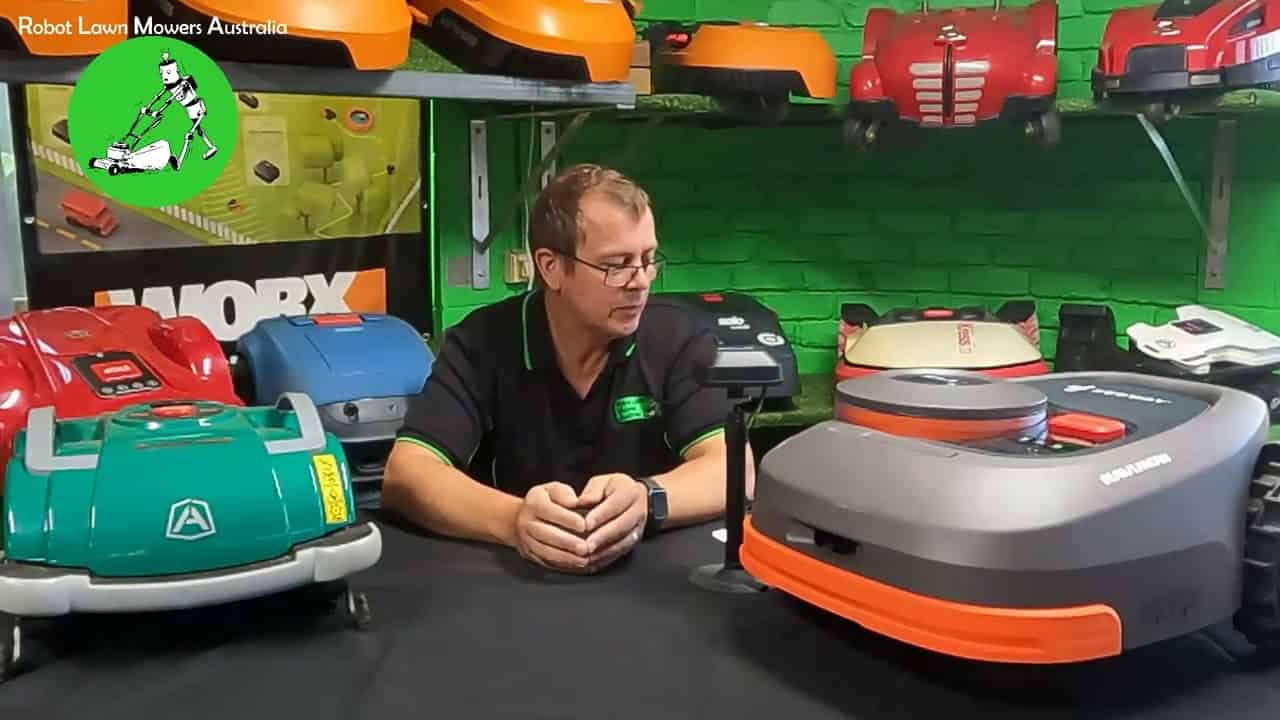
Currently, we are testing the Luba and Segway models and they are providing very positive results. Both are similar to each other but there are pros and cons to each, and we will be providing individual review videos of each model as the production models are released in Australia.

From my discussion with various manufacturers, they are all at different stages of final design and looking to start mass production. Some are still working with beta testers and Kickstarter customers until they are happy with their final design.

Pros and cons to this technology at this point.

Pros

  • No wire
  • Travels over paths
  • Multiple paths back to base
  • Flexible scheduling for each area

Cons

  • GPS shadowing
  • Camera lens cleaning
  • Obstacle identification. False stopping etc.
  • Possibility of excluding areas of the lawn that you will have to mow conventionally or convert the grass to gardens.

Will wireless technology work in my yard?

If you can answer yes to these three questions, then there is a good chance the RTK base technology can work for you:

  1. Can the reference station be installed with a 120-140deg unimpeded line of sight to the sky?
  2. you don’t have tall walls on the edge of your garden.
  3. you don’t have large tree canopies.

You can also go to the Segway website and fill out the checklist to see if their robot is suitable for your yard. This will give you a good idea if any of the RTK-based robot technology will work for you in your yard.

https://navimow.segway.com/CheckList

This checklist is quite conservative and is quick to exclude your property, so we recommend contacting us and providing photos and videos of your property so we can tell you how much of your property is suitable and how much is not. 

Should wait for this technology or install a wired robot lawn mower? 

Small yards will likely be better served with current wired models. This is Due to fences and walls and trees that most properties will have near the lawn areas. Anything within 1m of the lawn area that is taller than 1.8m will very likely affect the accuracy of an RTK base wireless robot mower.

Larger open yards with little to no obstructions then probably yes you could wait for this new technology to be released. Unless you don’t want to wait too long as there are already very reliable robots for large areas.

So, then the question is when can we see this new technology available in Australia?

The first 2 or 3 models like Luba, Navimow and maybe Worx Vision should be in late 2023.

Others will be in 2024 but are unknown whether this will be in early-mid or late 2024.

Robolinho 700E Programming Zones and Schedule

Masport robot mower programming schedule

Masport Robolinho 700E Programming zones and schedule.

The Robolinho 700E by ALCO and distributed by Masport is a very well refined robot lawnmower. Its ability to traverse over less stable ground cover and to cut thick glasses is second to none in this price category.

Capable of mowing an area of up to 700m2. Equipped with multi-zone functionality for up to 4 separate zones. Fully configurable scheduling allows you to program the robot for any time of the day and any day of the week.


Worx Garden Tools Introduction

worx 20v garden power tool

Worx GARDEN TOOLS

Summary of the range of Worx 20V PowerShare Garden Tool Range.

This video introduces our range of Worx Garden Tools, showing the quantity and types of tools available in the range.

The Worx 20V PowerShare range uses a single battery type to power both its 20V and 40V tool range.

SPARE PARTS

Spare Parts. We have it all, from the common wearable parts like blades and batteries to covers and guards and wheels and wire.
Even if your robot is in an accident, we have every spare part required and provide repairs and servicing in-house here in Brisbane.
So you can have the confidence that parts and repairs will always be available.

We have Moved

[siteorigin_widget class=”SiteOrigin_Widget_Slider_Widget”][/siteorigin_widget]

After two years of trading, Robot Lawn Mowers Australia has moved into our new location at Unit 5 / 1 Balmain street, Underwood, QLD.

Come visit us for a great demonstration of our products and savings on spare parts.

Have you Changed your Blades lately?

Have you Changed your Blades lately?

A clean cut is one of the best advantages for using Robot Lawn Mowers. With sharp thin blades, the mowers will cut the grass with little damage to the blades of grass. This promotes fast and healthy growth for your lawn.
Changing the blades on your Robot Lawn Mower is vital to maintaining this clean cut. We recomend changing these blades after around 50 to 100 hours of use depending on the type of grass being cut.
An easy way to tell if your blades are in need of being replaced or turning around, is that your grass will start to show signs of being torn rather than cut cleanly.
The above photo (to the left) shows the blades of the grass are damaged and dry. This is because the blades are blunt and are tearing the grsss rather than cutting them. The photo on the right shows the same lawn a week later, after the blades have been replaced. You can see that most of the blades of grass are now cut cleanly and are not damaged.

With sharp blades your grass will be stronger, greener and require less water to thrive.

Changing the blades on your Exgain Robot  Lawn Mower is simple and can be done with no more tools than a Phillips head screwdriver. It takes less than 5 minutes.

If you are in need of additional spare blades, please contact us at anytime.


Item added to cart.
0 items - $0.00
Compare Products